Step by Step Grapes illustration
Last November I created two pieces for the MONA Chimpanzee sanctuary. I finally sent them off last week prompting me to finally put up a few process pictures here.
This was a rather fun project. I had originally planned to do an illustration of a chimpanzee's diet but upon hearing that the favorite snack of the animals at the sanctuary was grapes I decided to focus on just this one piece.
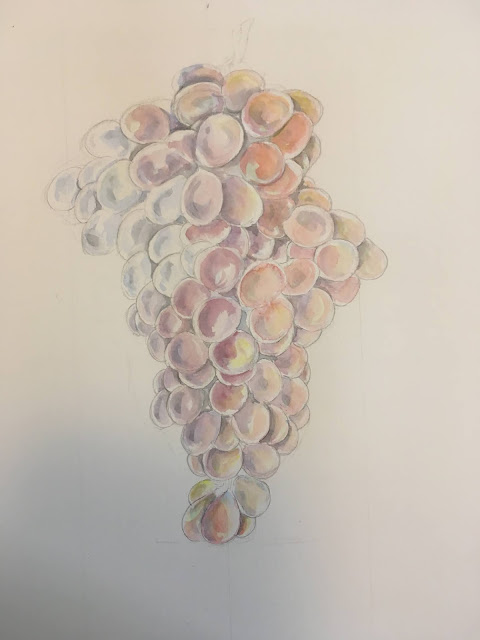
I started out by indicating which areas would be in shadow (blue) and which would have the sun shining through them (yellow)
Then I began overlaying each one with the first layer of red or purple. The 'sunny' side is more orange red, becoming more purple as I moved into shadow.
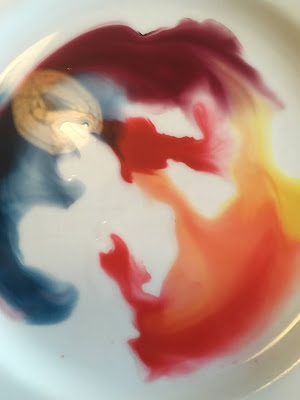
Once all of the grapes where coloured mixed a palette for detail. Here the colours are running into each other creating a gradient. As the water evaporated I was able to use the blended colours in a dry brush type way.

Once the grapes had been defined I went back in and began adding heavy shadows to emphasize the light reflections.
Once finished I decided not to add a shadow since I wanted to give the effect of a hanging bunch of grapes. I let it sit on my picture rail for a few days while debating what it needed.
Below are the two pieces with which you are most likely already familiar. of the two I like the grapes best even though they were probably the least time intensive.
If you are in Graz I will be offering a Workshop on January 30th. The number of participants is extrememly limited. The subject will be Urban Sketching at Home: Creating an illustrated time capsule. The cost, 25 Euros. If you are interested in a spot let me know. More information will be in Thursdays blog post.
If you are interested in a Stamp carving workshop in a box, I still have a few available. They are 40 euros each plus shipping. Read this post for more information.







Comments
Post a Comment