Step by step cicade stamp process

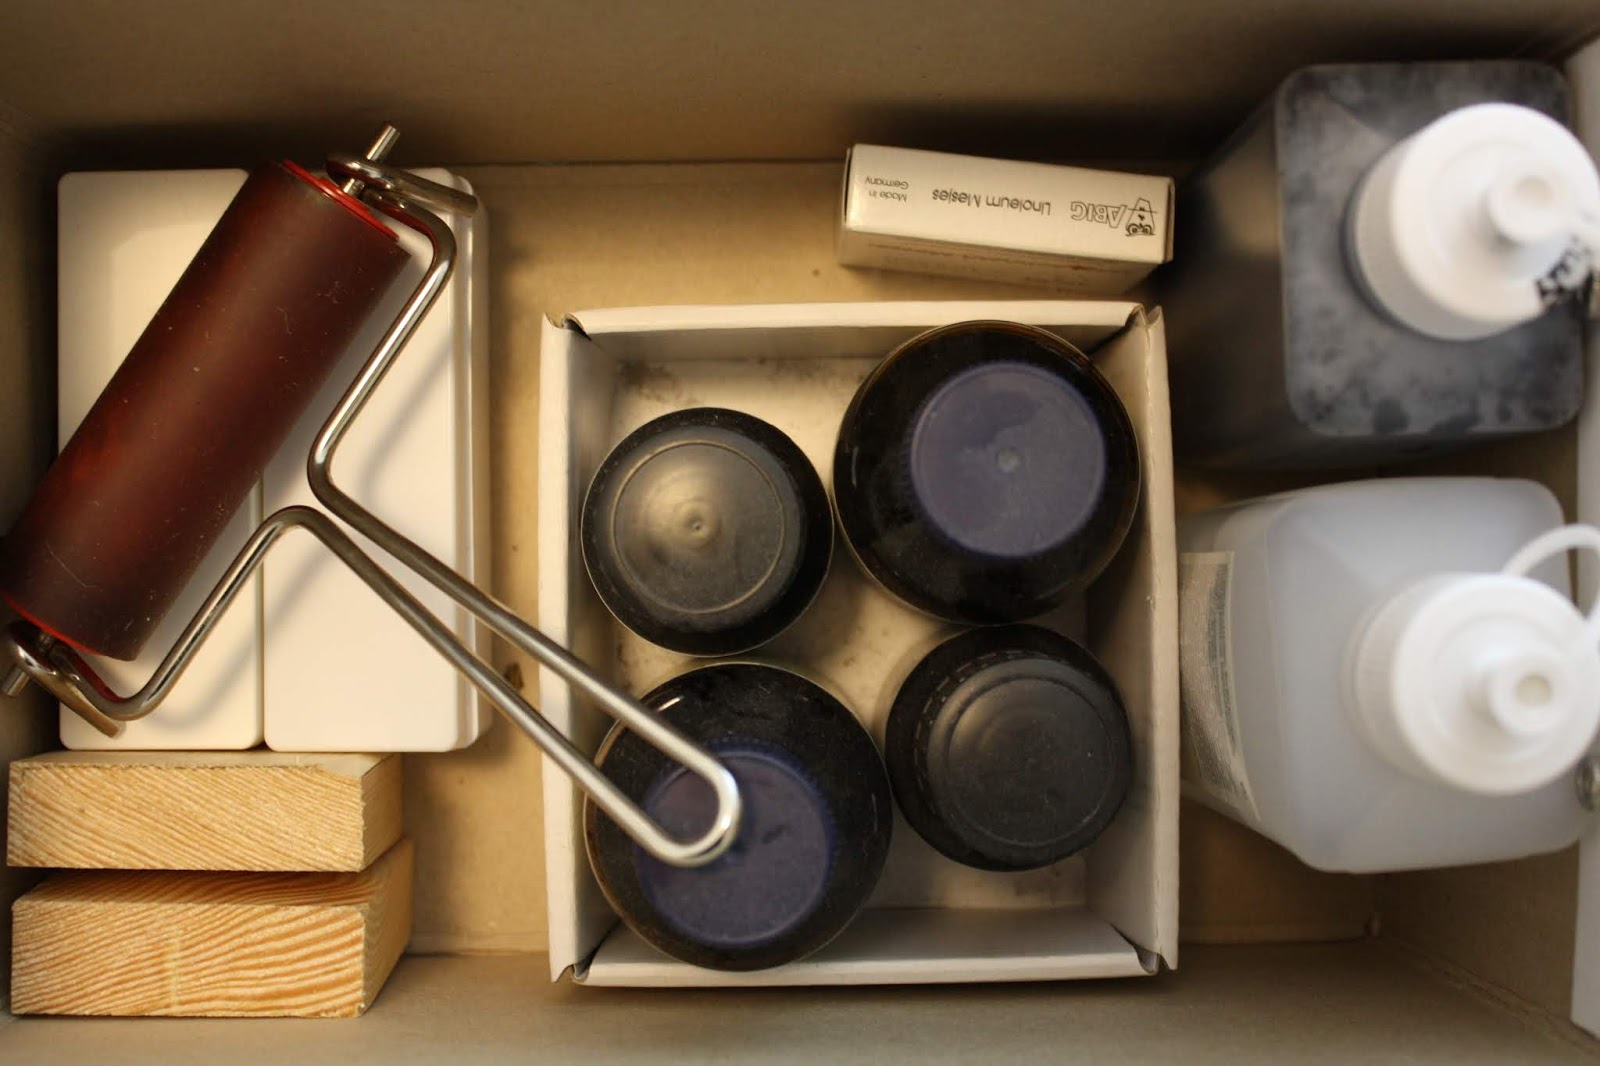
A few days ago I posted a picture of my stamp sketches in the natural history Facebook group and had several responses asking to see the finished product. As I hadn't cut them yet, I decided that this would make a good step by step process post. I am using a blue gummy, carvable stamp block rather than linoleum but the technique is virtually the same. Iam not a professional print maker so my process is probably quite simple, but here it is for anyone who is interested.
I drew out the patterns I wanted to make into stamps onto the block with a soft pencil- In this post I will only show the cutting of the Cicada. I haven't done the owl yet.

I have a small carving set that is meant for linoleum cuts but which works wonderfully with this medium.

Since the block is so soft I only ended up using two of the tips, the very finest one for the detailed lines, and a flatter one for the background.

Here is the smaller of the two tips.


I started with the outline of the body just to give myself a central area to work from. Where I start differs from picture to picture, Sometimes I work from top left to bottom right, sometimes thick lines first and then details, and occationally, as in this symetrical object, from the center out to make sure it ends up looking relatively even on both sides.

I then worked on the details inside the wings.

Finishing with the outer edge I added an additional outline to create a more substantial and clear cut shape for the stamp.


Finally done.

Brushing the carved stamp with a soft brush (in this case a cheap blending make up brush) helped to remove any small bits of gummy that were left in the lines.

I normally use a stamp pad with this type of material since it doesn't hold linoleum printing ink as well. Unfortunately, the kids took the stamp pad to their room, and I couldn't find it today, so I just used ink for this post.

I dont do all that make linoleum cuts or stamps so my ink tends to settle. I always shake it really well before using it again.

It goes a surprisingly long way- I have had this bottle of ink for about 10 years and it is still almost full.


Although this isn't sticking as well because of the medium, I learned at a printing workshop that ink should always be rolled on in the same direction, not back and forth, as rolling back and forth actually removes it again. You can see it pulling together on the surface, this is the reason I use an ink pad.

I always make an initial print to find out which areas are still too high. these areas pick up a little ink and are usually relatively easy to see and remove.

I am not overly fussy about whether I have ink on my hands but if I will be doing a significant amount more carving, I remove the ink first- the remover works like alcohol.

When I am relatively happy with it, I cut out the stamp. With this medium I am easily able to use scissors. Linoleum is more difficult.

After cleaning up the stamp, I do another print to see if I got all the remaining high spots.

You can see the small black lines below the left foot on this one. I removed them but didn't do a final print since they are so small that I know there wont be any other problems.

I then mount my stamp onto a wooden block with a special universal glue, shoe repair glue also works well. Below is a stamp that I did a while ago of a chrisanthemum. The blocks I had in my lino schnitt box are too small for this stamp so I will have to cut a larger one. Once it is mounted and dries overnight, It is ready to use.

I am making these stamps for the exhibition so that any kids who come will have something to do. We will set up a little stamping station with small squares of paper and a few stamps for them to make cards.
Have you made stamps? Do you do lino cuts? what is your process? Let me know in the comments.
To get posts as soon as they are published click on the subscribe button at the top of the page or Follow by clicking on the follow button.


Comments
Post a Comment