Step by step impressionistic flowers
The day before yesterday I took this large painting off the easel and moved it back to the diningroom where it had been working on my subconscious suggesting adjustments over the last week. It was that final day during which I screwed up the courage to add the last bold colours to the piece. Dark brush strokes that could have gone terribly wrong but turned out to be to the benefit of the piece.
Once surface had been prepared colourwise, I began to add the first blooms in magenta.
Here they have been positioned into a few swaths.
For scale I have included my hand as a size reference. The larger dark purple flowers are about this size.
I followed the paths created by the magenta blossom swaths while painting in the larger purple ones. They created three main garlands.
Each purple blossom served as a place holder for one of the large pompom like pink flower. The term that my client used in describing what she wanted was 'impressionistic'. So I modelled it after the double blossom cherry tree in our garden.
Once all of the blossoms had been painted in I began adding in smaller purple petals for contrast.
At this stage it moved to the dining room for contemplation.
Below you can see a step where I tried to plan out the final large blooms.
And here they are:
This is the final piece. It is ready to be picked up.
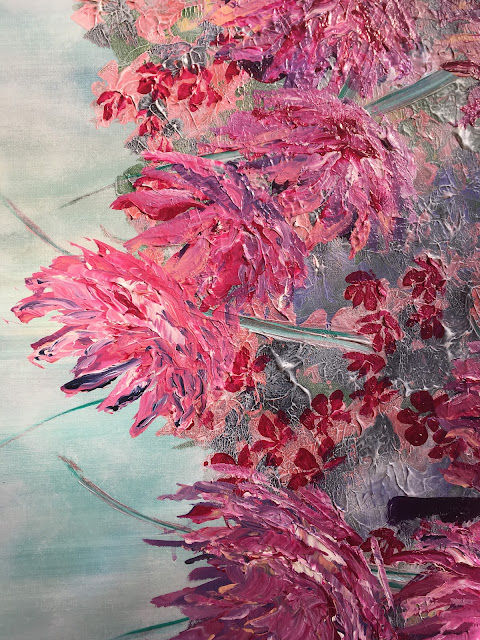
This close up shows the combination of the three different types of flowers.
If you enjoyed this post you might also enjoy:







Comments
Post a Comment